Comprehensive Guide to Correctly Installing Fuse Holders for Automotive Parking Sensor Systems
News 2025-10-20
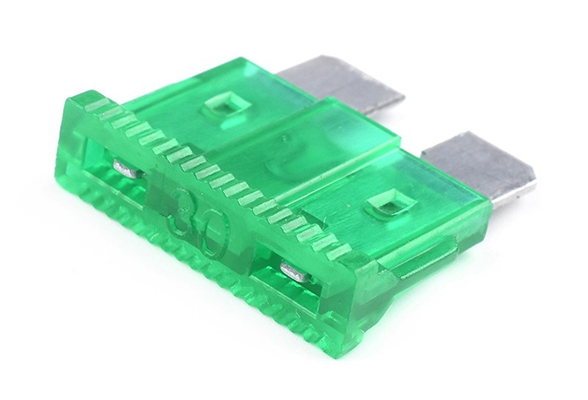
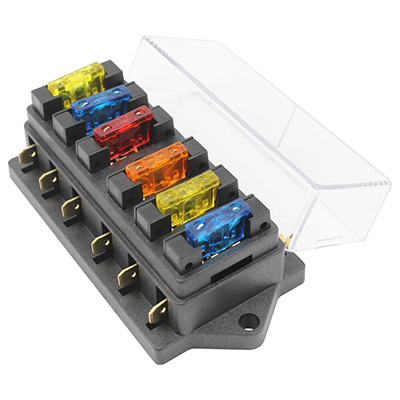
Installing a fuse holder for parking sensors in your car is essential for ensuring reliable circuit protection and optimal sensor performance. Parking sensors help detect obstacles during reversing, enhancing safety in tight spaces like parking lots or garages. A properly installed fuse holder safeguards the sensor system from electrical faults, such as short circuits or overloads, which could otherwise damage components or cause failures. This guide focuses on the correct installation steps, emphasizing the importance of using high-quality fuse holders that offer durability and ease of maintenance. By following these steps, you can extend the lifespan of your parking sensors and improve overall vehicle safety.

Application Scenarios and Performance Benefits
Parking sensors are commonly used in modern vehicles to assist with parking and maneuvering in confined areas. Fuse holders play a critical role by providing a secure point for fuse installation, protecting the sensor circuits from voltage spikes and electrical issues. Performance advantages include enhanced reliability, as quality fuse holders are made from heat-resistant materials that withstand automotive environments. They also allow for quick fuse replacement, minimizing downtime during repairs. In scenarios like urban driving or fleet vehicles, this setup reduces the risk of sensor failure, ensuring consistent functionality and contributing to safer driving experiences.
Installation Preparation
Before starting the installation, gather necessary tools and materials, including a fuse holder kit compatible with your car’s parking sensor system, wire strippers, crimping tools, electrical tape, and a multimeter for testing. Ensure the vehicle is parked on a level surface and the battery is disconnected to avoid electrical shocks or accidental shorts. Review the vehicle’s wiring diagram to identify the correct location for the fuse holder, typically near the sensor module or fuse box. Proper preparation prevents common errors and ensures a smooth installation process, focusing on safety and precision to maintain the integrity of the electrical system.
Step-by-Step Installation Guide
Begin by locating the parking sensor wiring harness and identifying the power supply line. Strip the insulation from the wires, then connect the fuse holder using appropriate crimp connectors for a secure fit. Mount the fuse holder in a dry, accessible area using screws or adhesive mounts to avoid vibration damage. Insert the correct amperage fuse as specified by the manufacturer, then reconnect the battery and test the system by activating the parking sensors. Verify functionality by checking for proper sensor responses and using a multimeter to confirm no voltage drops or shorts, ensuring the installation enhances system performance and reliability.
Common Questions and Answers
1. What is the main function of a fuse holder in parking sensors?
It protects the sensor circuit by interrupting power during faults, preventing damage and ensuring safety.
2. Is professional help needed for installation?
Not always; with basic tools and caution, DIY installation is feasible, but consult a mechanic if unsure.
3. How can I troubleshoot a faulty fuse holder?
Check for loose connections or blown fuses first, then test continuity with a multimeter to identify issues quickly.


