How to install a fuse holder in a car step-by-step DIY guide for beginners
News 2025-10-20
Installing a fuse holder in your car enhances electrical safety and is ideal for DIY enthusiasts adding accessories like sound systems or lights. It protects circuits from overloads, improving reliability and preventing damage in high-vibration environments. This guide outlines a straightforward process, emphasizing applications in modern vehicles where custom electronics are common, and highlights performance benefits such as easy maintenance and reduced fire risk.
Gathering Essential Tools and Materials
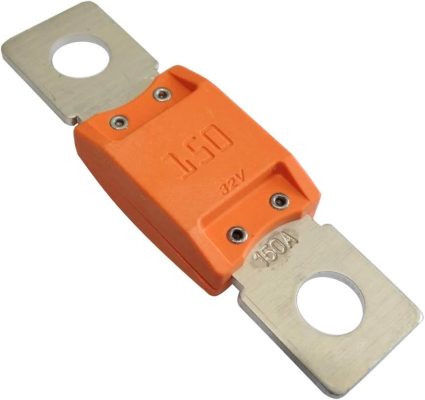
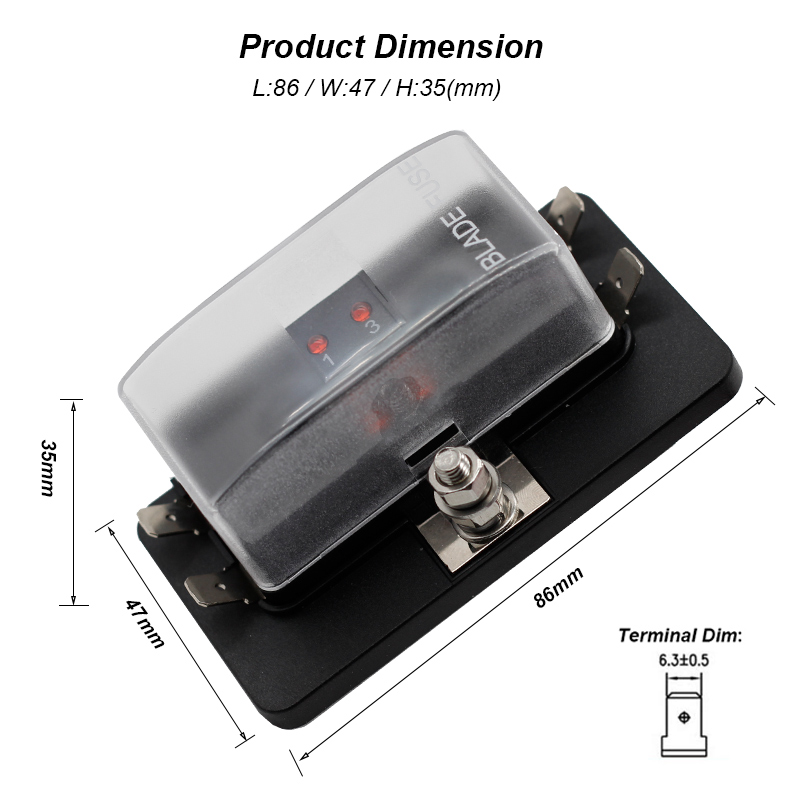
Start by assembling the necessary items for a smooth installation. You’ll need a 12V fuse holder, fuses rated for your circuit’s amperage, wire strippers, crimping tools, electrical tape, and a multimeter. Choose durable, automotive-grade components to ensure long-term performance, resisting corrosion and heat for safer, more efficient operation in your car’s electrical system.
Step-by-Step Installation Process
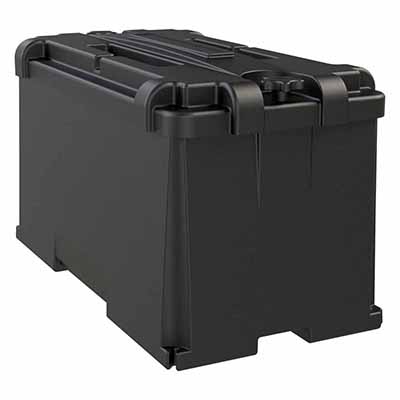
Begin with safety: disconnect the battery’s negative terminal. Select a mounting location near the fuse box for optimal wire management. Strip and crimp wires to the fuse holder’s terminals, secure it with screws or brackets, then reconnect the battery. Test the setup using a multimeter to confirm proper voltage and no shorts, ensuring the holder functions effectively in protecting your added circuits.
Frequently Asked Questions
1. What factors should I consider when choosing a fuse holder?
Answer: Consider the voltage, current rating, and mounting options to match your car’s specifications for best protection and fit.
2. Can I install a fuse holder in an older car model?
Answer: Yes, it’s often easier in older models with more accessible wiring, but ensure compatibility to avoid electrical issues.
3. How does a fuse holder improve car performance?
Answer: It provides quick fault isolation, reducing downtime and preventing damage to sensitive electronics, enhancing overall system reliability.