Step-by-Step Guide to Cleaning Car Fuse Holders: Effective Methods for Dirt Removal and Corrosion Prevention
News 2025-10-20
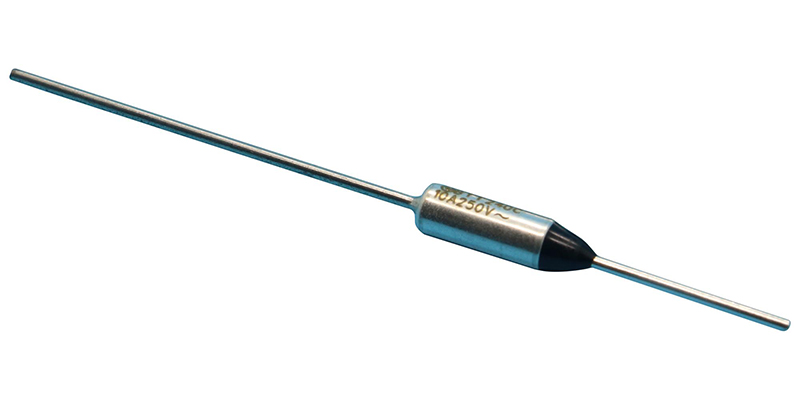
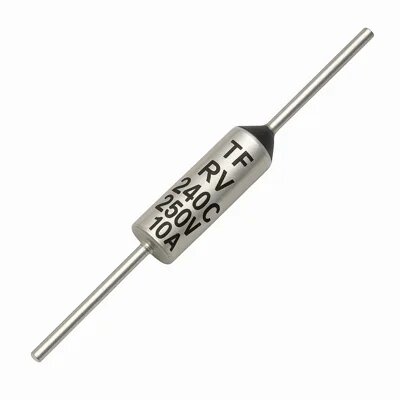
Car fuse holders are critical components in automotive electrical systems, ensuring safe and reliable power distribution. Over time, dirt, moisture, and debris can accumulate, leading to poor connections, overheating, or even electrical failures. This is especially common in harsh environments like coastal areas or during wet seasons, where corrosion accelerates. Regular cleaning not only removes contaminants but also enhances the longevity and performance of the fuse holder, reducing the risk of costly repairs and improving overall vehicle safety. By maintaining these components, car owners can ensure optimal electrical function, which is vital for features like lighting, audio systems, and engine controls.

Tools and Materials Needed
To clean a car fuse holder effectively, gather the right tools to avoid damage and ensure thorough results. You’ll need a soft-bristled brush for gentle scrubbing, compressed air or a small blower to remove loose debris, isopropyl alcohol or a specialized electrical contact cleaner for dissolving grime, cotton swabs for detailed work, and a multimeter to test connections afterward. Additionally, wear protective gloves and safety glasses to handle any potential hazards. Using high-quality tools improves cleaning efficiency and minimizes the risk of scratches or corrosion, making the process safer and more effective in various automotive settings.
Step-by-Step Cleaning Process
Begin by disconnecting the vehicle’s battery to prevent electrical shocks or short circuits. Carefully remove the fuse from the holder using a fuse puller or your fingers, inspecting it for any signs of damage. Use compressed air to blow away loose dirt and debris from the holder. Apply isopropyl alcohol to a cotton swab or soft brush and gently clean the contacts, ensuring all corrosion and grime are removed. Allow the holder to dry completely before reinserting the fuse and reconnecting the battery. Finally, test the circuit with a multimeter to confirm proper functionality. This method is particularly useful in maintenance routines for older vehicles or those exposed to harsh conditions, enhancing reliability and preventing future issues.
Prevention Tips for Long-Term Maintenance
After cleaning, implement strategies to minimize future dirt buildup and corrosion. Apply a thin layer of dielectric grease to the fuse contacts to create a barrier against moisture and contaminants. Regularly inspect the fuse holder during routine vehicle checks, especially in dusty or humid environments, and consider using protective covers if available. Opt for high-quality fuses and holders designed with corrosion-resistant materials, such as gold-plated contacts, which offer superior performance in demanding conditions. These practices not only extend the life of the component but also maintain efficient electrical conductivity, reducing energy loss and potential safety risks in automotive applications.
Frequently Asked Questions
1. How often should I clean the fuse holder?
Clean it every 6-12 months or if you notice signs of poor electrical performance, depending on your driving conditions.
2. What are the signs of a corroded fuse holder?
Look for overheating, intermittent electrical issues, or visible rust; early detection can prevent major failures.
3. Can I use household cleaners for this task?
No, stick to electrical-specific cleaners to avoid residue that could cause short circuits or further damage.